 Vellum overlays add a beautiful touch to invitations, from the more traditional to to the modern. Although it looks expensive, 8.5"x11" vellum can be bought at paper-supply stores relatively cheaply. Just make sure you get thin vellum that can be fed through your printer.
Items needed:
* Printed sheet of background graphic of your choice
* 8.5"x11" sheet of vellum
* Cardstock or thick paper
* Length of ribbon to match background graphic
* Scissors or craft knife and straightedge
* Gluestick and/or double-sided tape
* Word-processing or graphic creation software and printer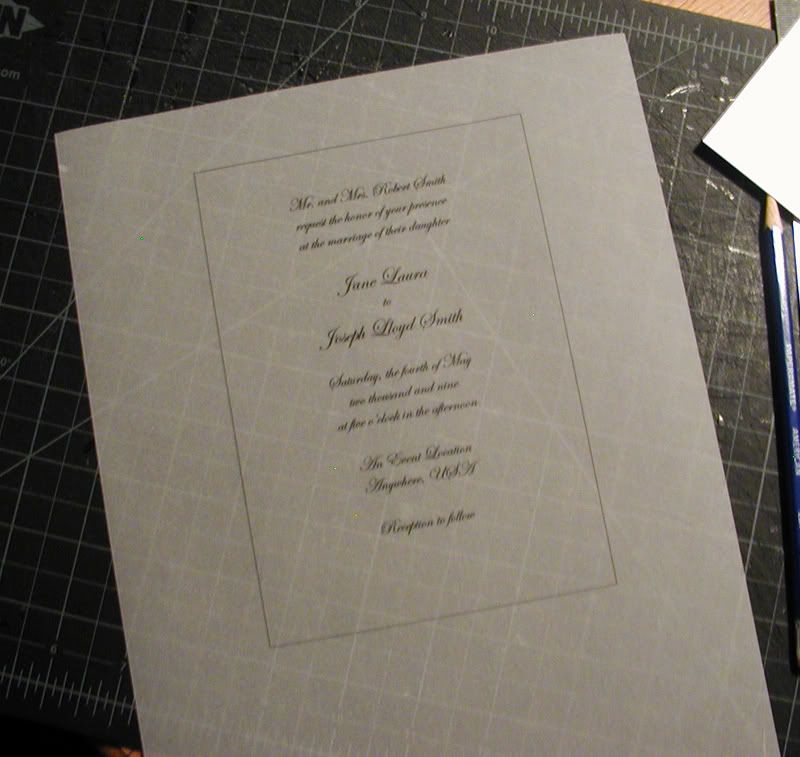 1. Create your invitation wording on the word-processing software. If possible, save as an image so you can double up and print two per sheet of vellum. I created a box centered on the text so I knew where to trim the excess; it makes cutting the overlay easier. Print it carefully onto the vellum, one sheet at a time. Make sure you don't touch the ink so it has a chance to dry.
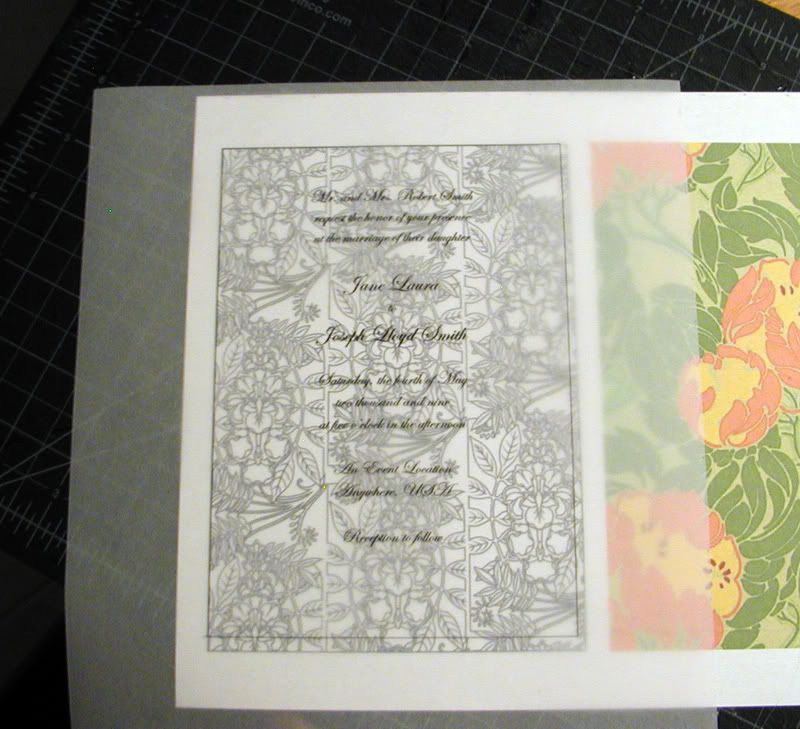 2. If you're trying to decide between several different graphic backgrounds, check to see how each looks underneath the invitation wording. You want to be able to read the invitation while still being able to tell what the image is.
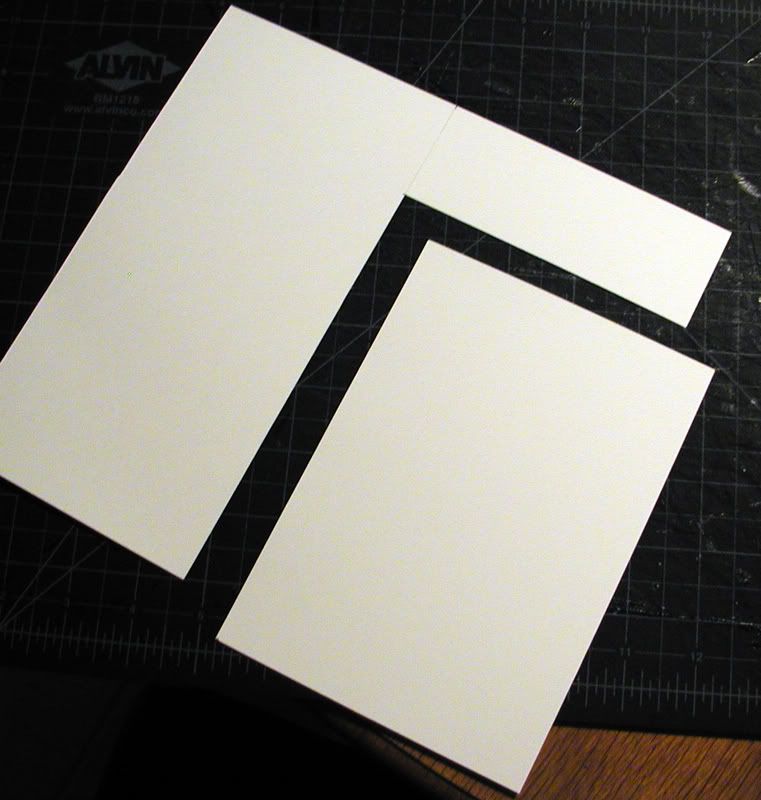 3. Cut the cardstock or thick paper to your final invitation size. A good rule of thumb is about 5"x7", and it's better to trim it by about a quarter of an inch or so to ensure it fits into a standard-size envelope. If you want custom size invitations, remember that you'll have to find (or make) custom envelopes, and in some cases (like square invitations) you may need to pay extra postage.
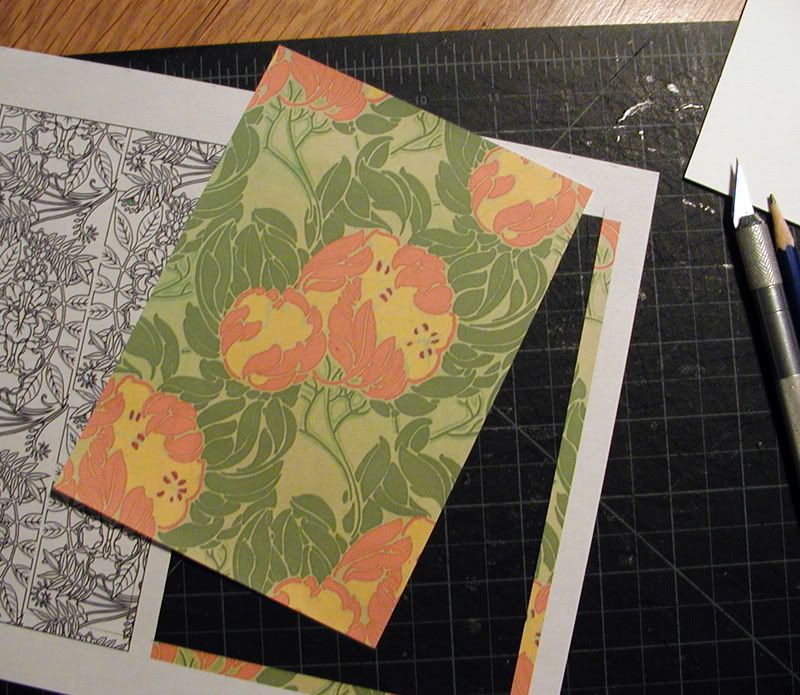 4. Cut the background graphic. In the example I cut it to the same size as the cardstock; however, you may decide that you want to have the cardstock color showing with a smaller graphic.
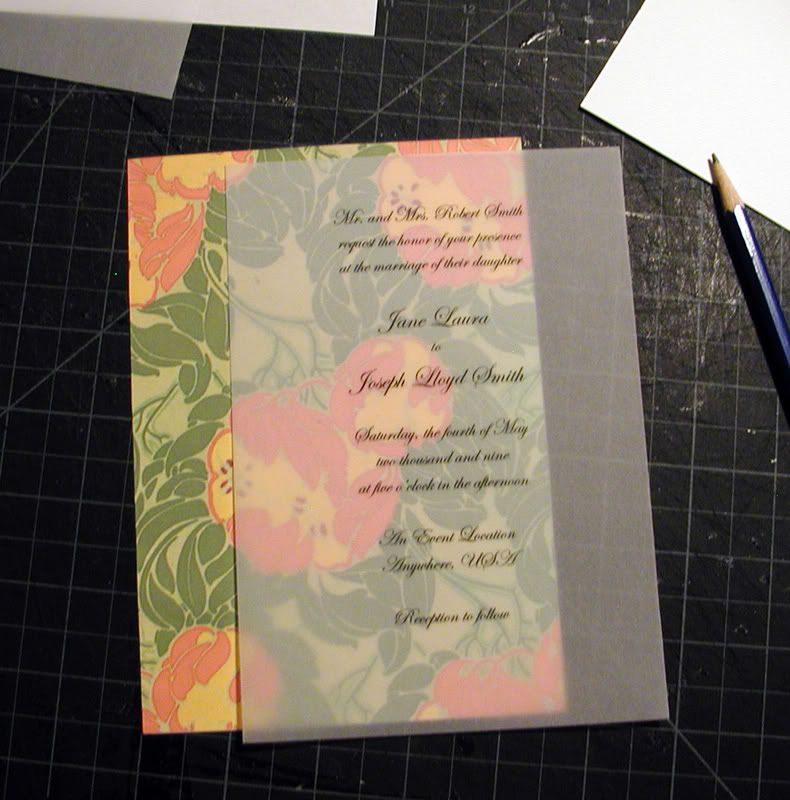 5. Cut the vellum to size. It's best if the vellum is the same size as the cardstock. Arrange the pieces until you find an eye-pleasing combination. Carefully attach the graphic to the cardstock with a gluestick or double-sided tape (regular white glue will warp the cardstock).
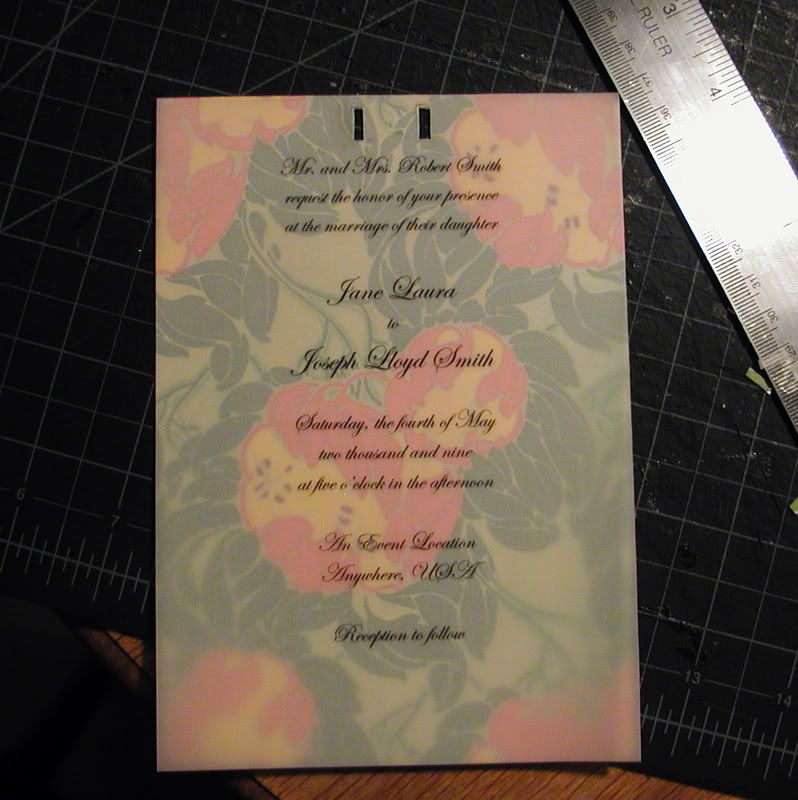 6. Using a tiny dab of glue or a small piece of the double-sided tape on the top center - where the ribbon will be tied - place the vellum overlay to "anchor" it. Cut holes for the ribbon with a craft knife, or use a hole punch, making sure everything still lines up.
 7. Thread the ribbon through the holes and tie into a neat bow on the front. Cut the ends if necessary; if they show, cut them diagonally for a nice finish.


No comments:
Post a Comment